Importing your list of contacts is easy!
**FIRST AND FOREMOST, NEVER, EVER UPLOAD A RENTED OR PURCHASED LIST INTO ROBLY. WE CAN AND WILL FIND OUT IF YOU HAVE, AND WE WILL SHUT YOUR ACCOUNT DOWN IMMEDIATELY. FOR MORE ON SPAM, CLICK HERE. **
Import Contacts
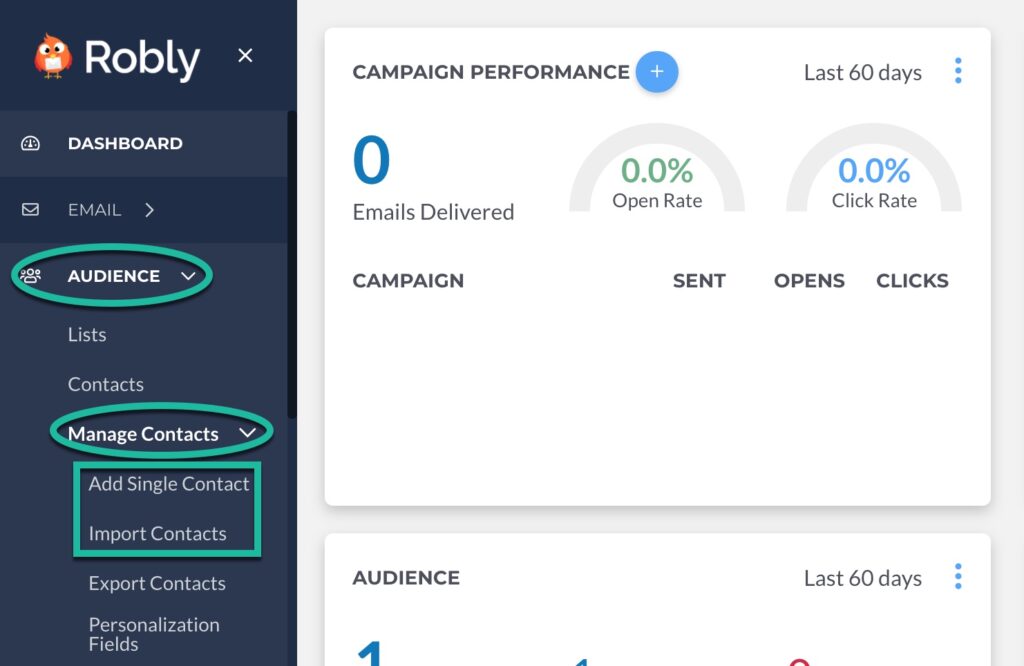
1. Go to Audience > Manage Contacts. Select from Add a Single Contact to add individual contacts one at a time, or Import Contacts to import a CSV or multiple subscribers.
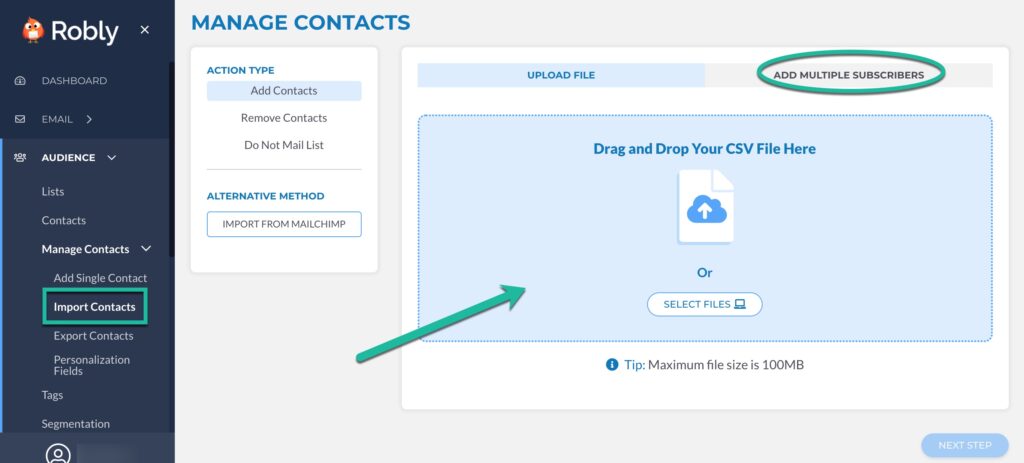
2. If you choose to Import Contacts, you can either Drag and Drop Your CSV File, or you can Add Multiple Subscribers.
Import from Mailchimp
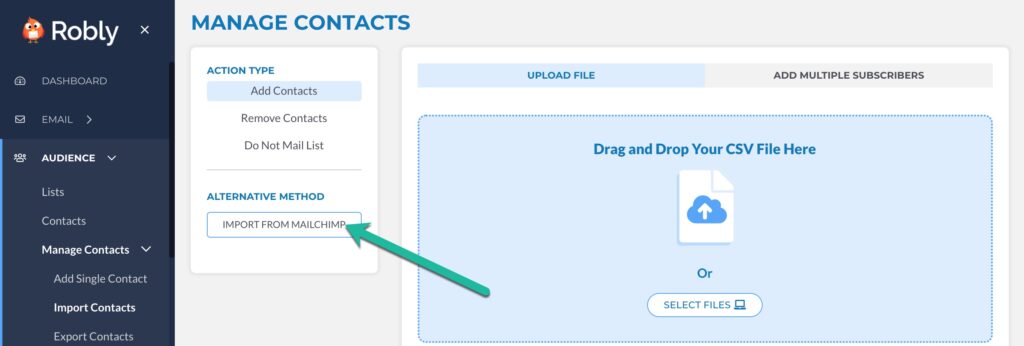
Click Import from Mailchimp and upload your contacts. For more help, see our separate post here.
Import a CSV File
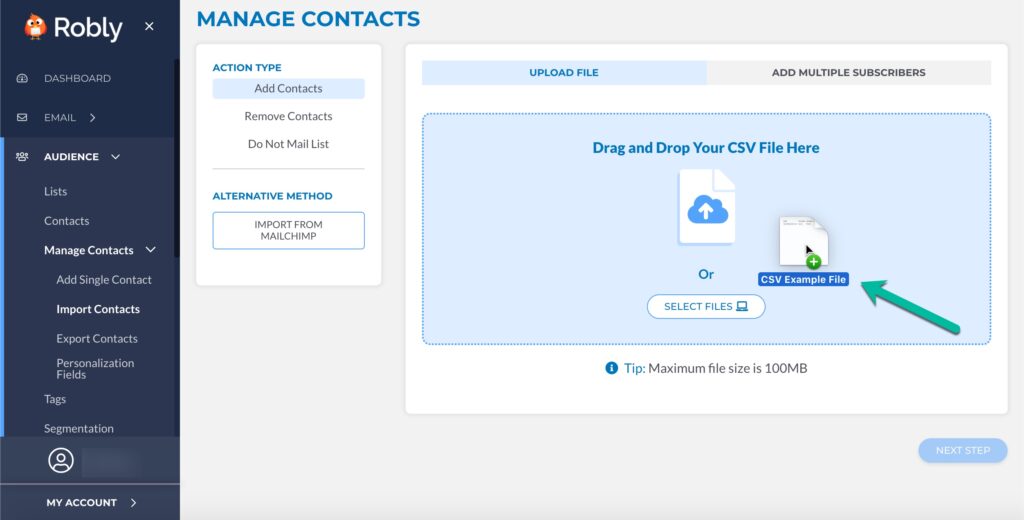
Drag and drop your CSV file onto the blue box.
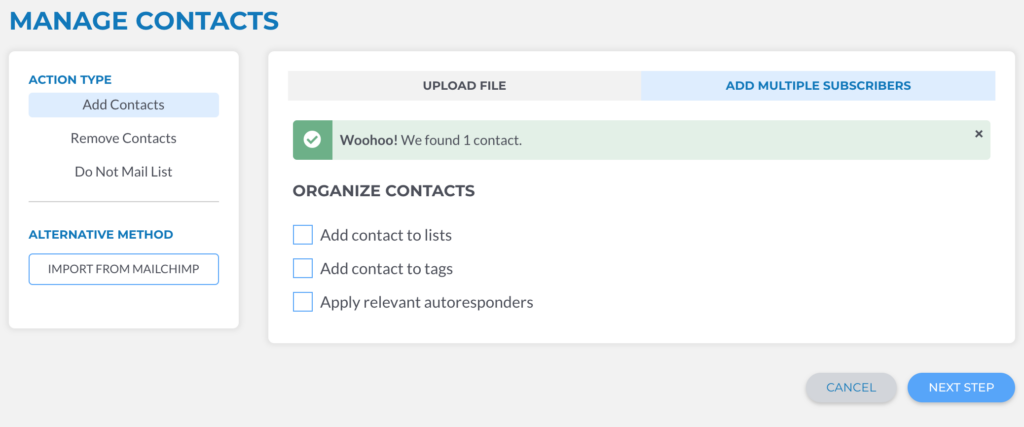
You can then organize your contacts by adding the contact to list(s) or tag(s), as well as applying relevant autoresponders. When you’re finished, click Next Step.
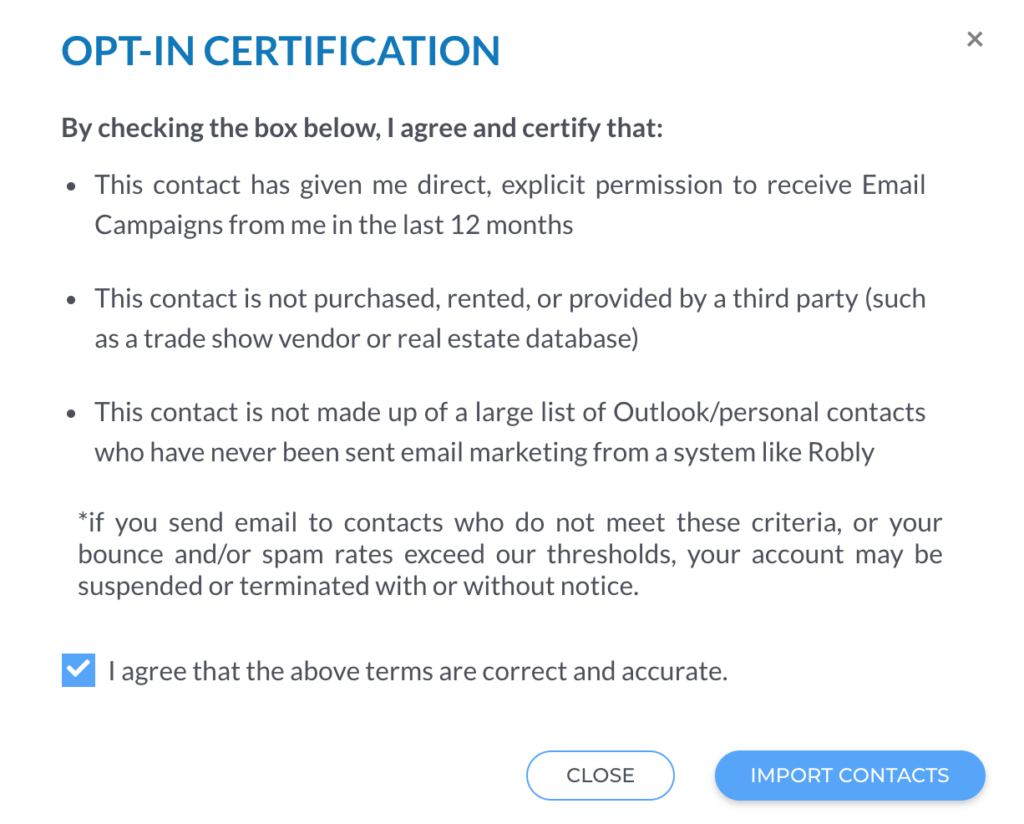
After reading the opt-in certification and verifying the contacts have opted into your list, check the box and click Import Contacts.
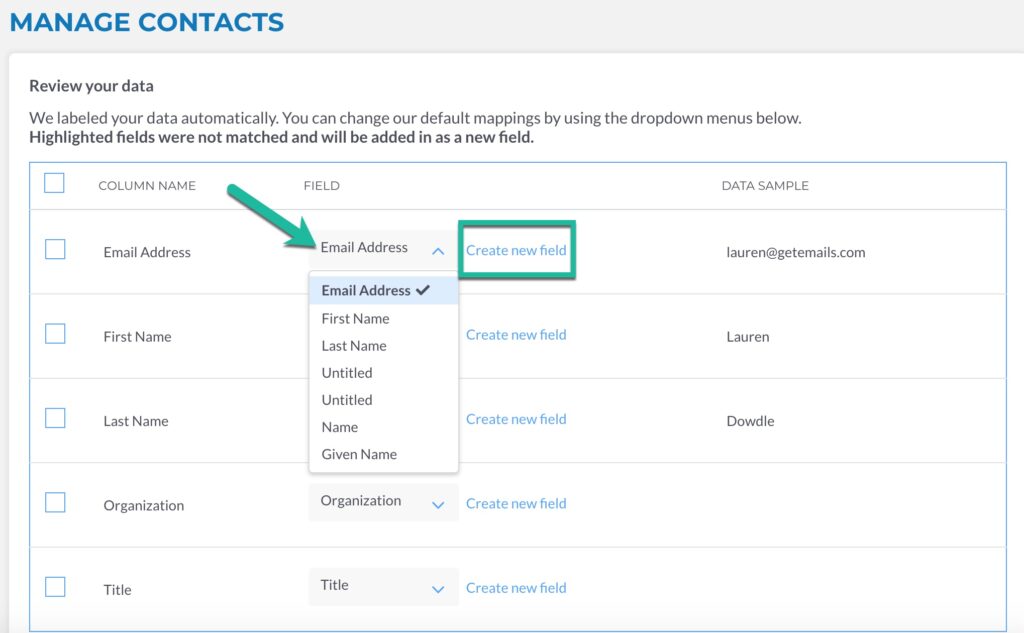
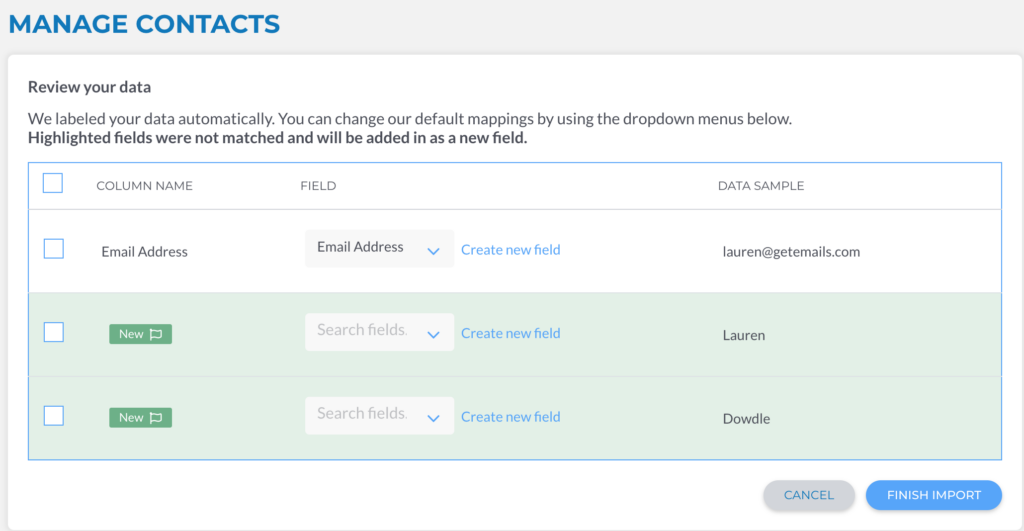
Here’s where you can adjust the field name(s) if anything is incorrect. For example, if the first name is showing up with the “email address” field, you can click the drop-down menu to change the field. You can also Create new field if your option isn’t on the menu. When everything is correct, click Finish Import at the bottom.
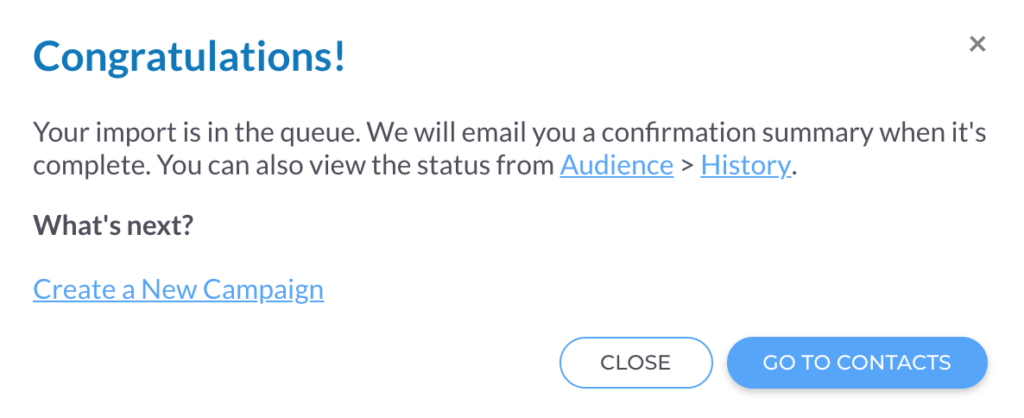
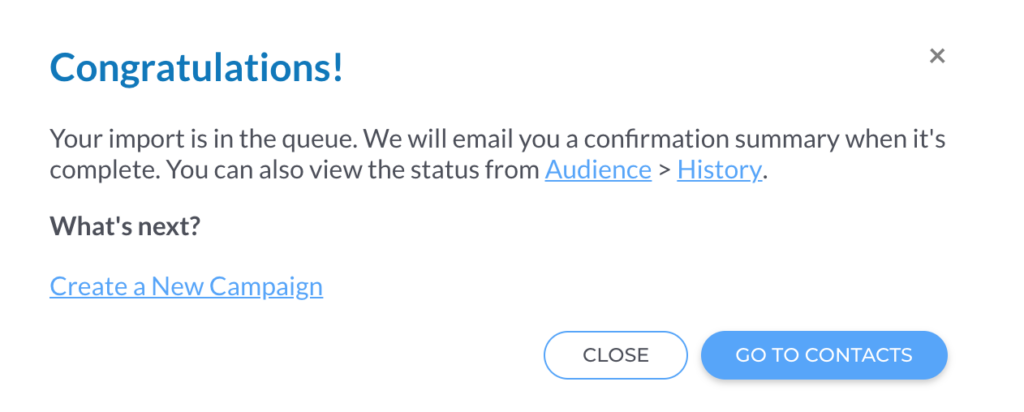
You will receive a confirmation message showing your import is in the queue.
Copy and Paste from Excel
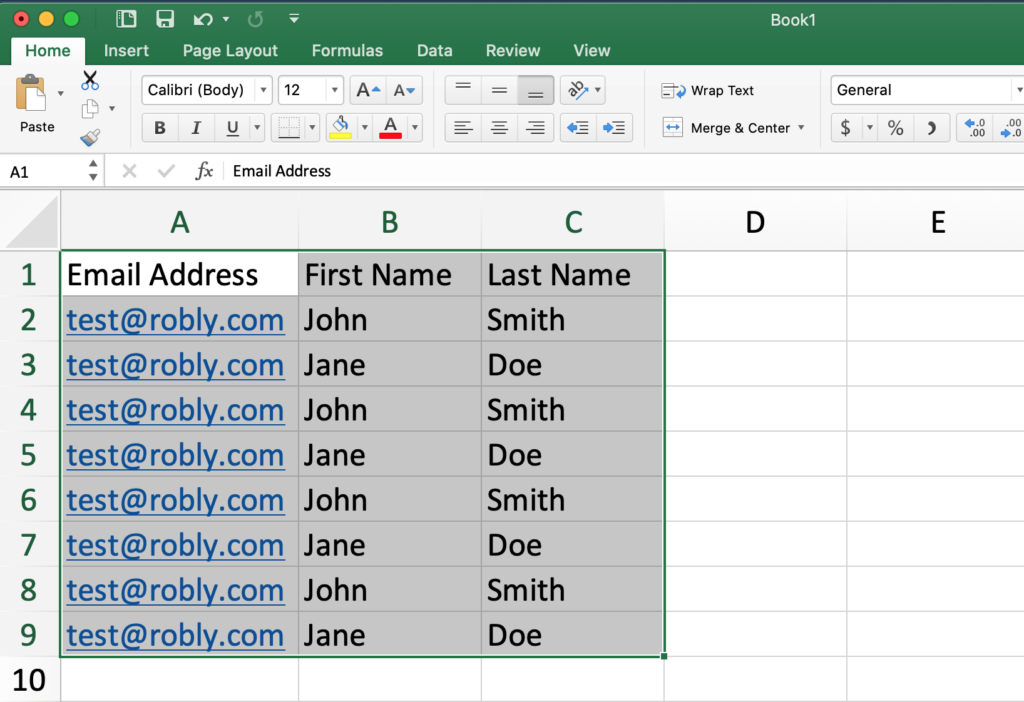
1. Go into your Excel spreadsheet. Make sure the first row of your Excel file contains header labels for each column (Email Address, First Name, Last Name, etc.). Then, simply copy all of the rows and columns you want to use.
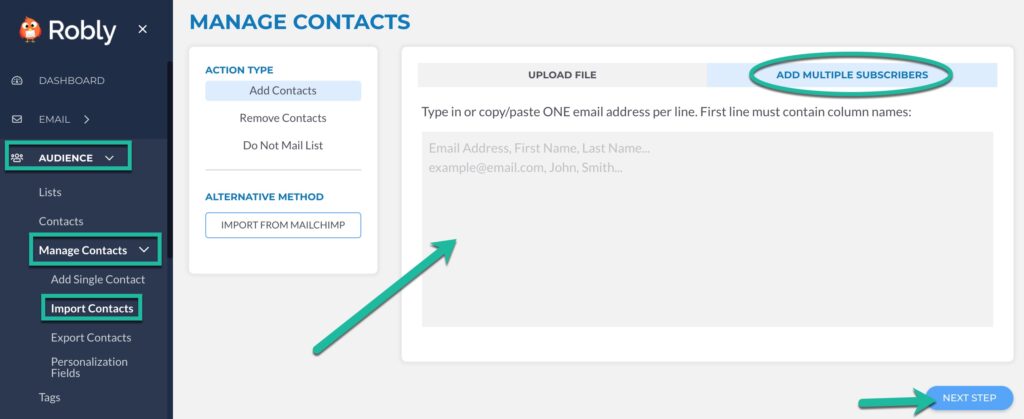
2. In the left-hand navigation of Robly, click Audience > Manage Contacts > Import Contacts. Then, click Add Multiple Subscribers. You’ll paste your Excel spreadsheet contacts in the box and hit Next Step.
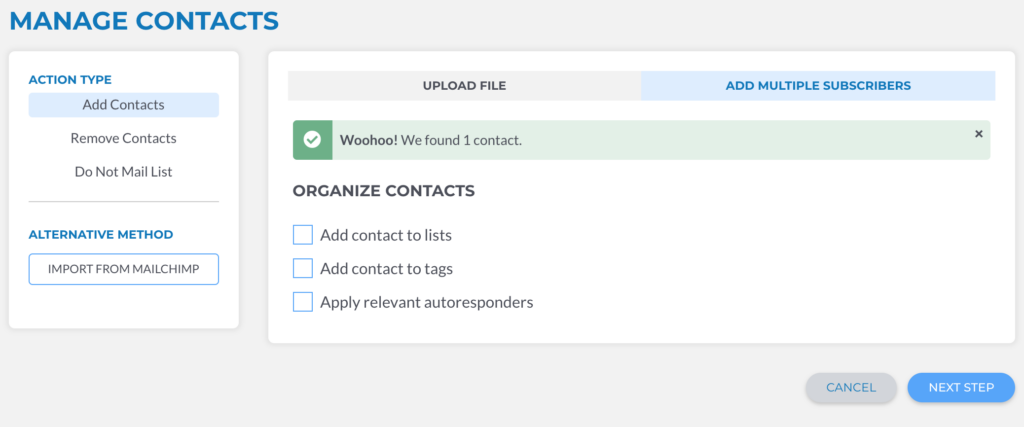
3. Choose your list(s), tag(s), and relevant autoresponders for the contacts. Then, click Next Step.
4. After agreeing to the opt-in terms, review the data and labels, changing them as needed by clicking the Field drop-down menu. When you’re finished, click Finish Import.
5. You’ll then receive a confirmation message.
Import a Do Not Mail List
We highly recommend and may require that you import a Do Not Mail list prior to sending. This will minimize the risk of your first campaign tripping our bounce thresholds, which would result in the suspension of your account.
To import a Do Not Mail list, first create a CSV file of the contacts you want to add to your Non-Subscribed folder.
Then, click Audience > Manage Contacts > Import Contacts. Then, click Do Not Mail List.
You can either click Select Files or drag and drop your CSV file in the blue box. When you’re finished, click Remove Contacts.
If you use our system to import your lists from Mailchimp, your opt outs and hard bounces will automatically port over as Do Not Mail into your Non-Subscribed folder.
Once you’ve imported these contacts, you will find them in your Non-Subscribed contact list (found in Audience > Lists at the bottom) with a status of Do Not Mail.
Import a Delete List
If you want to Delete a selection of subscribers from your account, you can do it by importing a Delete list.
Click here for instructions.
Add Multiple Subscribers
Adding multiple subscribers works the same way as Copy/Paste from Excel.
[note title=”NOTE:]If you are attempting to upload more contacts than your current plan allows, we will automatically upgrade your account.[/note]
