You can change padding for any content module to either add or reduce additional space around them. Here’s how.
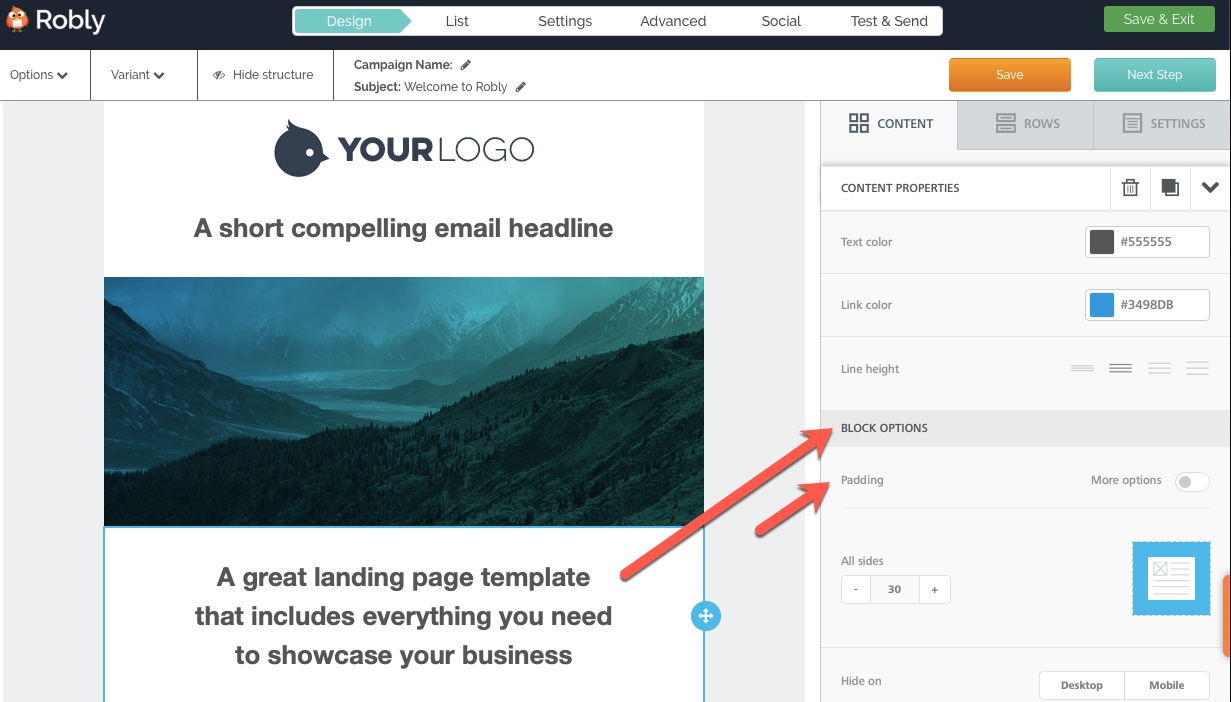
First, click on/in the module whose padding you want to change. Then, find the Block options section under Content on the right hand side. The default is set to change the padding on All Sides, which will adjust the area surrounding the module equally:
Toggle the More Options option to edit Top, Bottom, Left, or Right padding values separately:
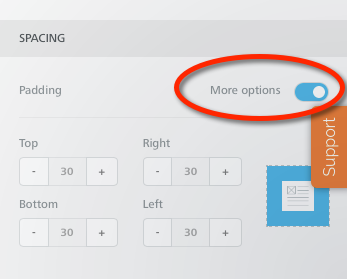
If you want to move modules closer to one another, you can edit just the Top and Bottom padding values for one or both modules – reduce the number, and they will move closer together:

If you are using our original editor, follow these instructions:
You can change padding for both text and image modules to either create or reduce space around either. Here’s how.
Change Padding for a Text Module
In this example, we will change the padding for the text module in order to move it closer to the image above it:
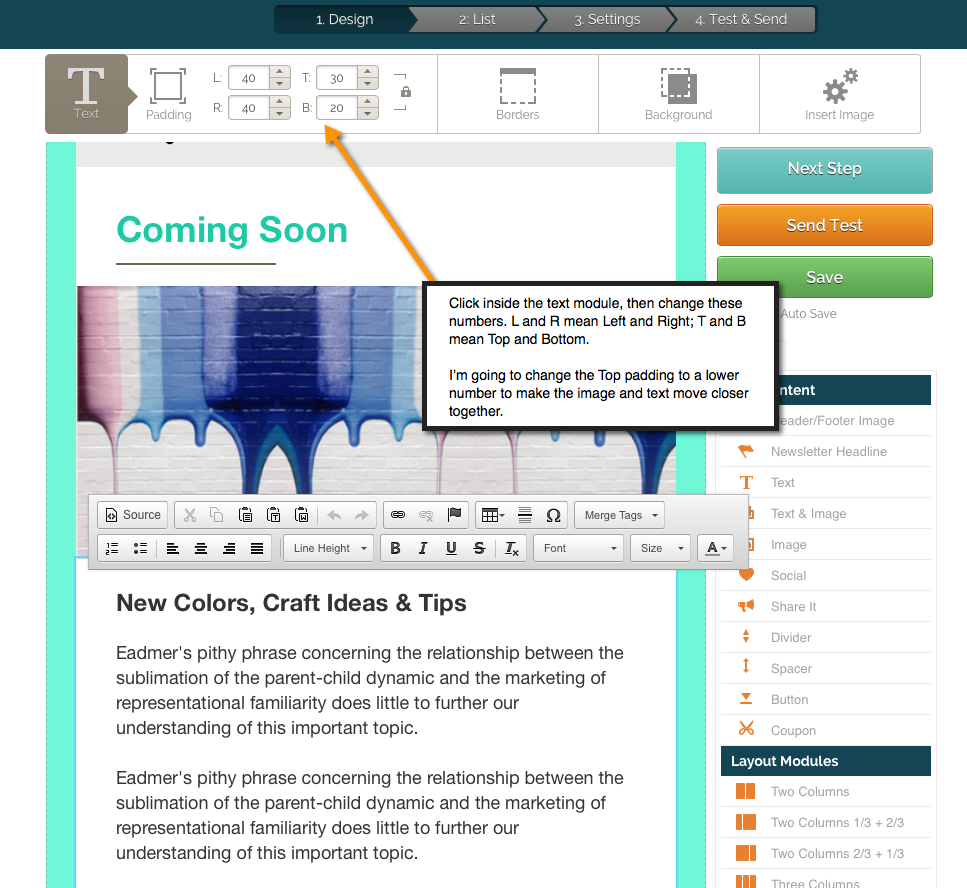
After changing the T, or Top, value to 5, you can see that the text moves closer to the image:

Change Image Padding
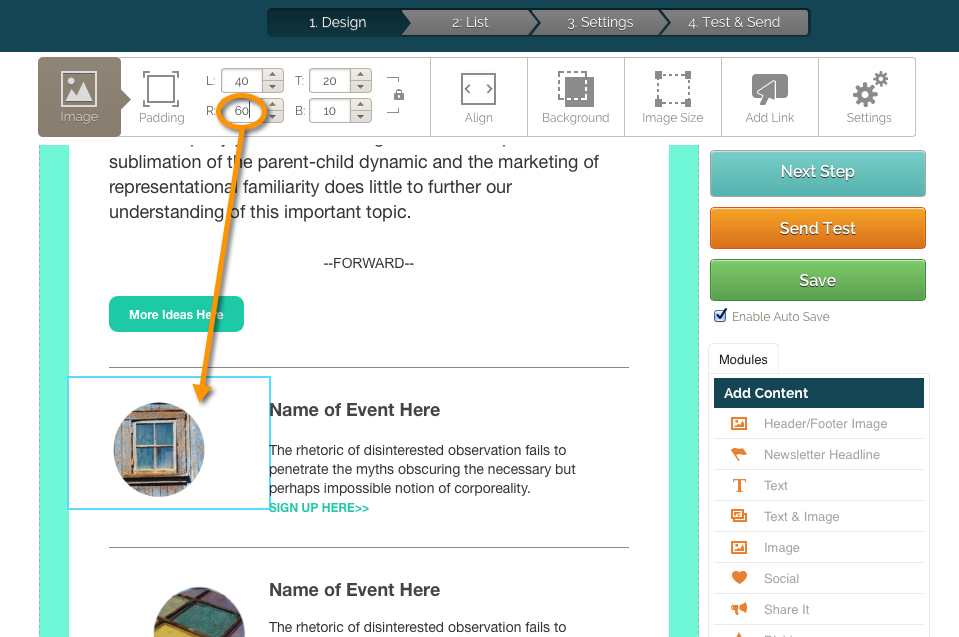
Now we will change the padding for an image to move it farther away from the text, as seen below:
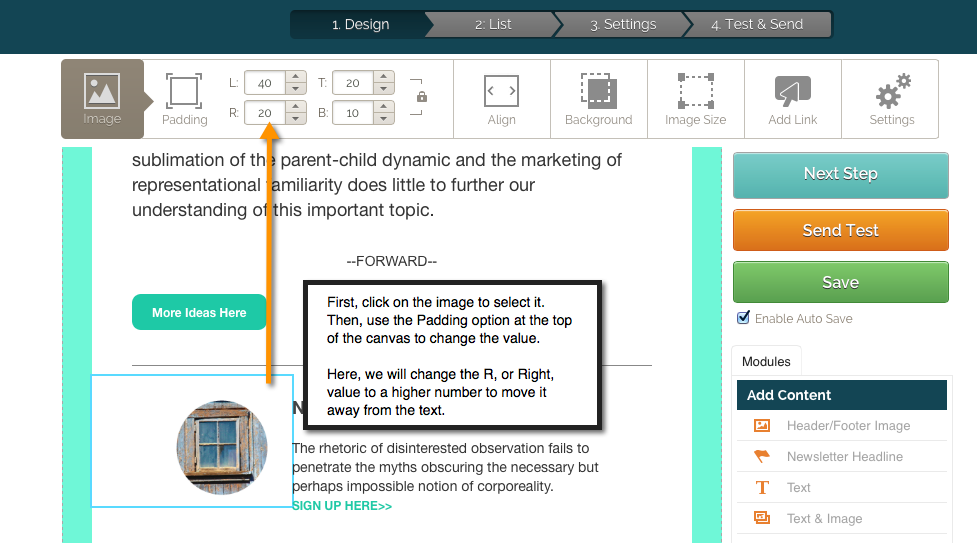
After increasing the R, or Right, value to 60, you can see the image moves away from the text:
Boom! Now you know how to edit padding. 🙂