Footer information is required in all emails sent through Robly. You can edit your company name, website, and physical address in the footer.
You can also use and store different footers for different campaigns if you choose.
Here’s how:
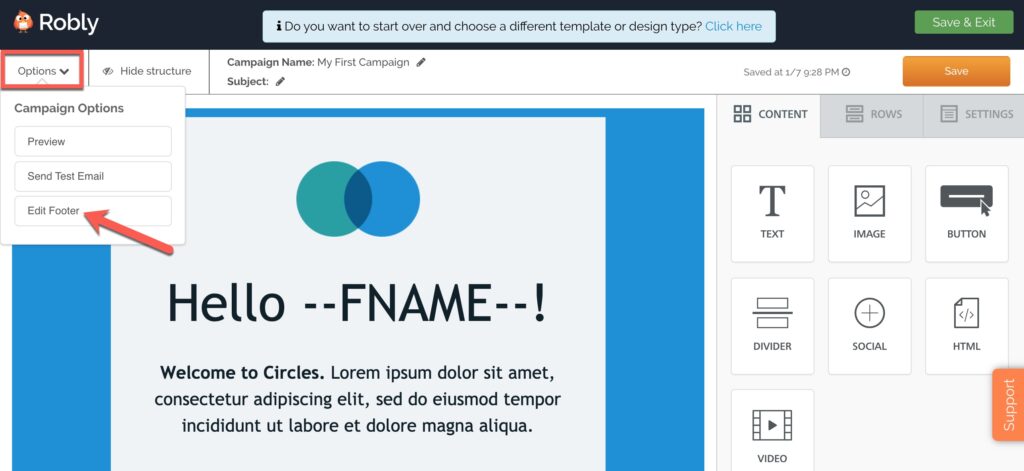
In the campaign editor, under the Options menu, choose Edit Footer.
This is what you’ll see:
In the footer editor you can set default footers, create new footers, edit existing footers, and select specific footers for campaigns.
Set a Default Footer
Click the gear icon under the Actions column and choose Assign as Default. The default footer you are currently using will be indicated by the word Default in parentheses after the footer name in the Sender column.
Create a New Footer
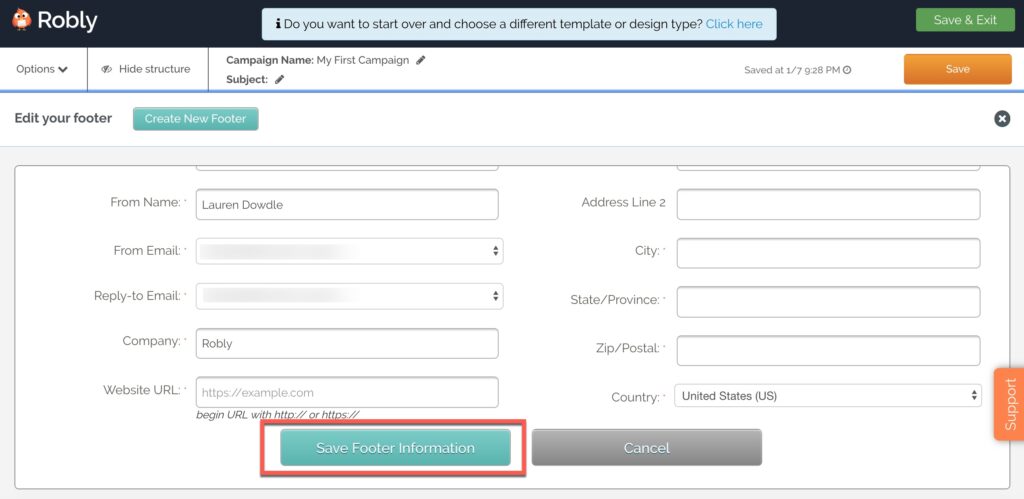
Click the Create New Footer button and input your details.
Edit Footer
To edit an existing footer, click the gear icon under the Actions column and choose Edit. Click the Save Footer Information button when you are finished.
Set Footer for a Campaign
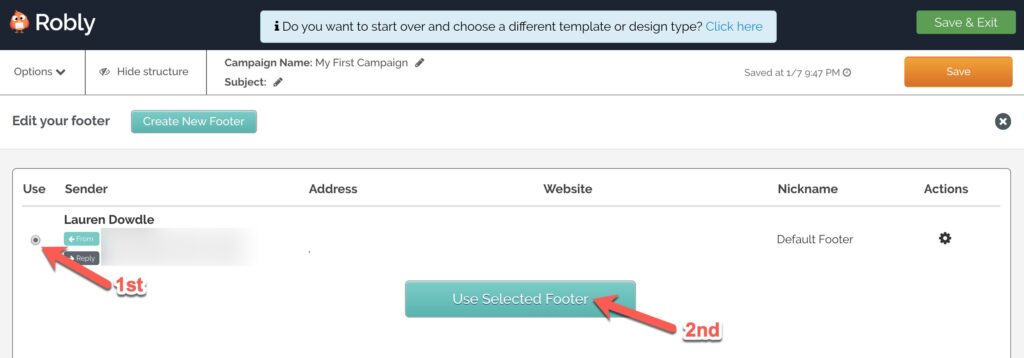
First, click the radio button in the Use column, then click Use Selected Footer.
Preview Footer
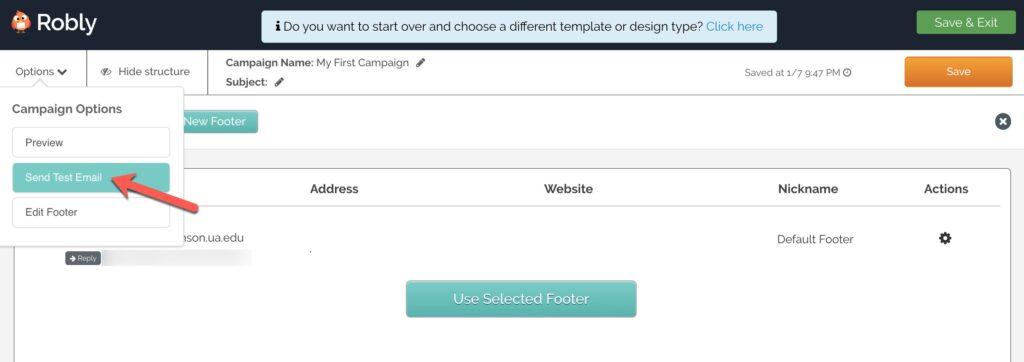
Finally, to see what your footer looks like in an email, make sure you’ve saved the changes and send yourself a test email.
Have questions? Message us on chat, or email support@robly.com!


