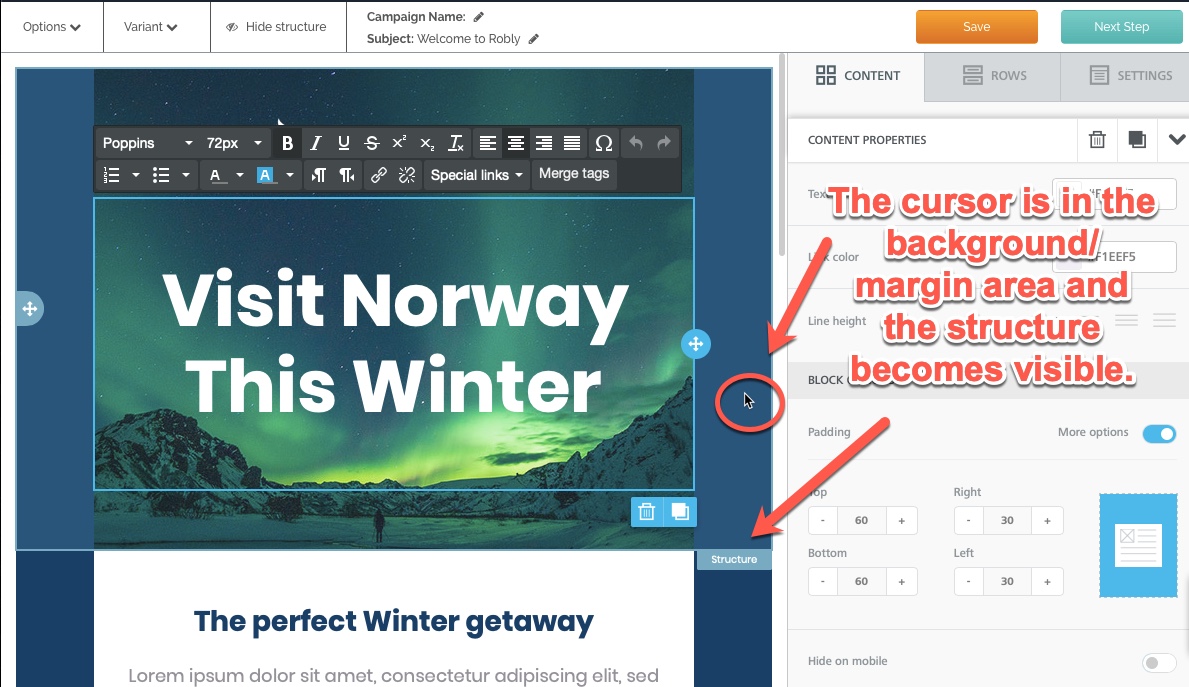
You can add images as a background to each structure module in your campaign. The structure of any given section of your email is visible with the blue outline that shows when you click in the margin/background area of your email.
In the campaign editor, click on the margin of the area into which you’d like to put a background image (this will be to the sides of the content modules). When your cursor is in this area, the Structure becomes visible:
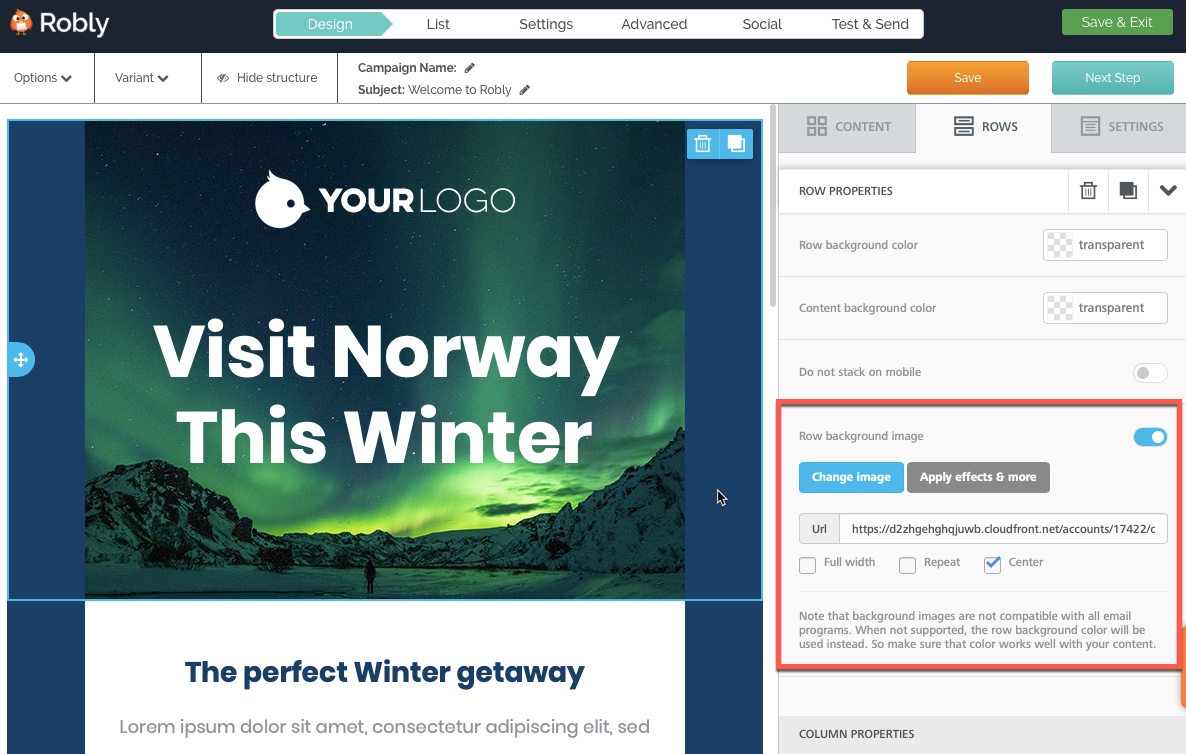
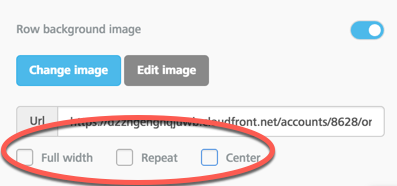
In the editor box on the right, you’ll see a toggle for Row background image. Turn that on. It will turn blue and produce a background image menu.
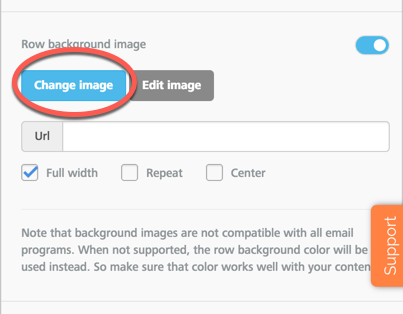
Click the Change image button to select an image.
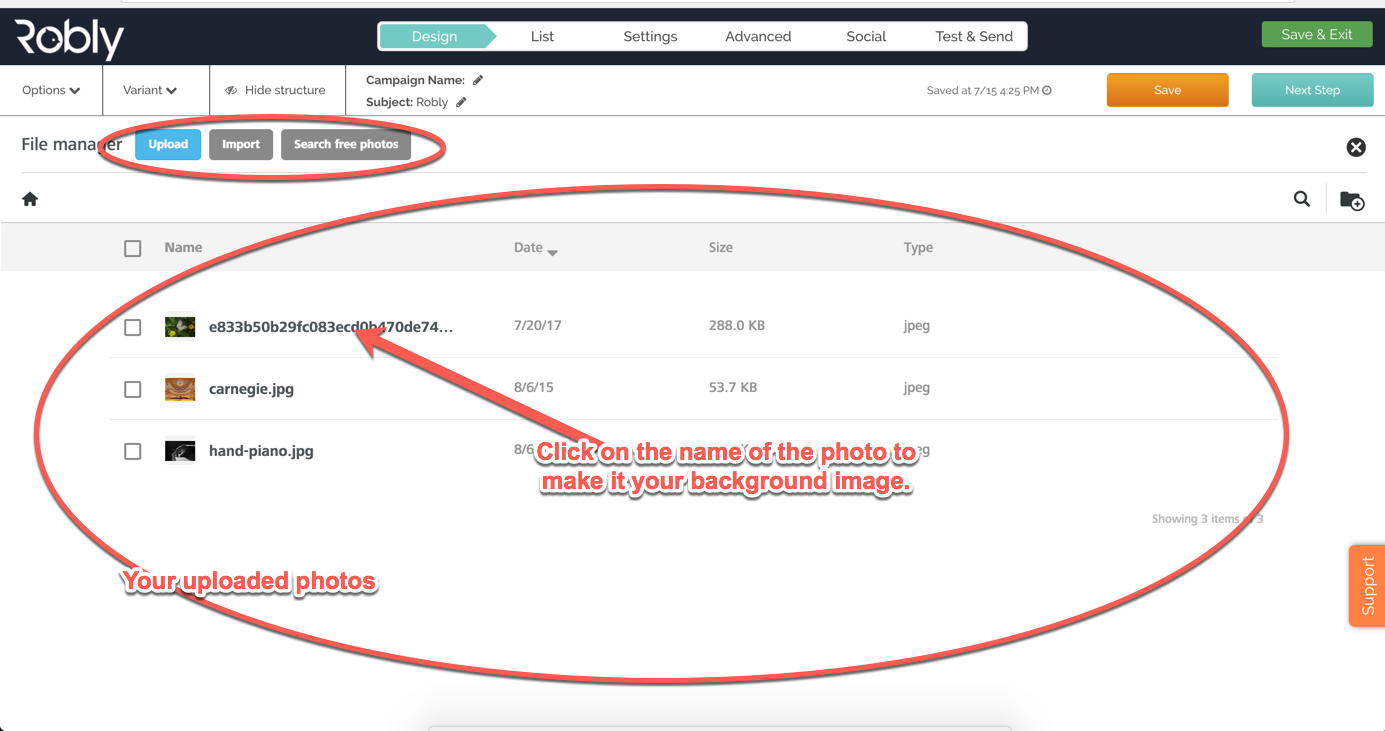
You’ll be able to choose an image from your uploaded photos, upload a new image from your computer, import an image from other social media websites, or search for free photos.
Click on the name of the photo to make it your new background image.
After adding an image as a background, you have a few options for editing the layout of the image:
To remove the image, simply toggle the Row Background image option back to off, and that will remove and reset the background.
How do I make a single image the background for my entire email?
To achieve this you will have to build your entire email using a single row by only adding ONE Structure element into your email and then adding all your Content modules inside of it.
The easiest way to do this is to:
- Create a New Campaign.
- Select Drag and Drop.
- Choose the Blank template from the gallery.
- This will start you with a template that contains 1 single row that is 1 structure.
- Add all your Content (images, text, etc) into this template without adding any additional Rows.
Have questions? Message us on chat, or email support@robly.com!
